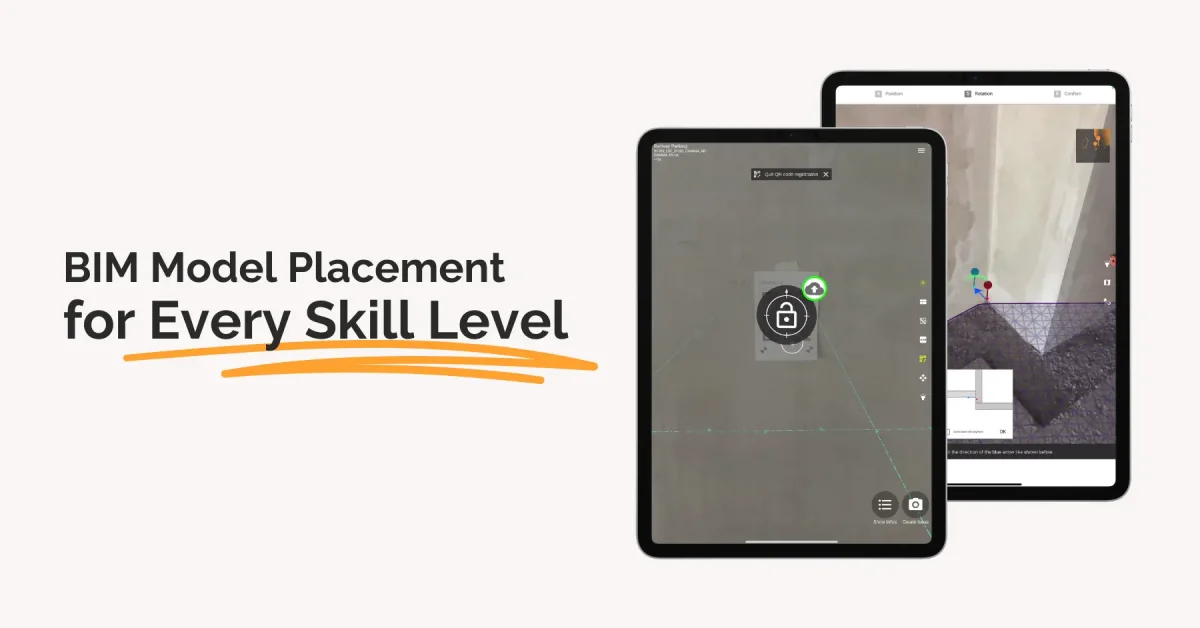
AR on Your Terms: BIM Model Placement for Every Skill Level

Table of Contents
Share this post
Aligning Your Project Right from The Start
When it comes to BIM model placement with GAMMA AR, getting the model placed correctly is crucial.
Once the model’s placed right on-site, you’ll be ready to catch any issues early on.
Keep in mind that GAMMA AR is designed as an indicative tool, meant to help you visualize and verify and coordinate the design/plans prior to and during the construction process.
It is intended to provide a highly effective way to spot potential discrepancies early, helping keep construction on schedule, rather than delivering survey-level accuracy or replacing traditional surveying solutions.
In practice, this means, for example, clash detection, verifying clearance zones, and identifying any conflicts before they can turn into costly rework.
With GAMMA AR, you don’t have to imagine how the BIM model compares to the build on-site.
Because you can see it.
Using a tablet or a smartphone, you simply overlay the BIM model onto the job site in real-time using AR.
It’s as easy as just walking around the site with the model right there in front of you, seeing it exactly where and how it’s going to be (or has been) built.
This helps you stay on schedule, while also reducing those typical construction headaches—delays, miscommunication, and unexpected errors.
The first step in making this happen is placing your BIM model.
Built into GAMMA AR are four different ways of doing this, each designed with varying levels of technical know-how in mind.
This makes it easy for all users to confidently place and visualize BIM models for the best results every time.
Let’s take a quick look at each one, as well as why you might want to use it.
Corner Alignment: A Solution for Straightforward Projects
Auto Alignment: Streamlined Placement with Minimal Input
- Strengths: Fast, requires little effort, suitable for users with basic tech or AR know-how, efficient for frequent realignments.
- Weaknesses: May drift over time, not as precise compared to QR Code or Manual Adjustment.
- Best Use Case: Smaller or less complex projects where precision isn’t the highest priority.
QR Code Alignment: Precision and Stability for Complex Projects
- Strengths: Offers dependable, repeatable results, ideal for long-term projects.
- Weaknesses: Requires QR code printing, setup, and management, adding extra time and complexity.
- Best Use Case: Large-scale, accuracy-demanding projects.
Manual Adjustment: Maximum Control for Advanced Model Placement
- Strengths: Complete control over the alignment process, useful for correcting small misalignments.
- Weaknesses: Time-consuming, entails a strong understanding of both the physical and digital environments.
- Best Use Case: Projects that need constant fine-tuning or are in irregular environments.
Placement Methods for Every User and Project
Ultimately, the key to successful model placement lies in selecting the method that best matches both your project’s demands and the technical abilities of your team.
With these four distinct options, GAMMA AR empowers users of all skill levels to make the most of their BIM models in the field.
From smaller, simpler projects to large-scale builds demanding peak performance, there’s a method tailored to fit your unique needs.
Ready to see how GAMMA AR can enhance your next project? Download a full-featured trial version today from the App Store or Google Play.
For a customized demo that addresses your specific needs, please contact us directly.
